

Minn Kota Trolling Motor Setup: Essential Settings You Should Check Before Hitting the Water
Minn Kota Trolling Motor Setup: Important Settings to Check
Installing your Minn Kota trolling motor is only part of the setup process. Before getting on the water, there are a few settings you should check to make sure the trolling motor is properly configured for your boat and installation.
In this BFE Tech Talk, we walk through some of the trolling motor settings available through a compatible Humminbird unit, including one setting that can easily get overlooked: stow orientation.
Check Your Trolling Motor Connection
Start by making sure your Humminbird recognizes the trolling motor and that the two devices are communicating properly.
From your Humminbird's network and trolling motor menus, you can access the available motor settings and setup options.
If the trolling motor isn't showing up as a connected device, address that before moving on to the rest of the setup.
Familiarize Yourself With the Trolling Motor Controls
It sounds simple, but take a minute to familiarize yourself with the controls on the trolling motor itself, including the power button.
This is especially worthwhile if you're moving from an older Minn Kota trolling motor to one of the newer systems. There are more settings and configuration options available than many boat owners realize.
Go Into Setup and Calibration
Once you've confirmed that everything is communicating properly, head into the trolling motor's Setup and Calibration menu.
This is where you'll find several settings that determine how the trolling motor behaves on your particular boat.
One of the important ones to check after installation is Stow Orientation.
Setting Minn Kota Stow Orientation
Stow Orientation determines which direction the trolling motor's prop faces when the motor is stowed.
Depending on how your trolling motor is mounted on the boat, you'll have the option to select:
-
Prop Left
-
Prop Right
Use the illustration shown on the Humminbird display to select the orientation that matches your trolling motor installation.
Once this is configured correctly, the trolling motor knows which direction it should rotate when returning to the stowed position.
Why Does Stow Orientation Matter?
This is a small setting that's easy to overlook during an installation, but setting it correctly helps make sure the trolling motor stows in the proper orientation for your boat.
Rather than discovering an incorrect setting when you're already on the water, we recommend going through these setup options after the installation is complete.
Finish the Setup Before Hitting the Water
Modern trolling motors have become much more integrated with the rest of the electronics on the boat. A proper installation isn't necessarily finished as soon as the motor has power and deploys.
Before heading out, take a few minutes to:
-
Verify communication between the trolling motor and Humminbird.
-
Review the available trolling motor settings.
-
Complete the applicable setup and calibration procedures.
-
Verify your stow orientation.
-
Deploy and stow the motor to confirm everything operates correctly.
Taking a few minutes to check these settings can prevent unnecessary frustration once you're on the water.
Watch the Video
Check out the video above for a quick walkthrough showing where these settings are located and how to configure the trolling motor's stow orientation.
If you need help with a Minn Kota trolling motor installation, setup, troubleshooting, or integration with your Humminbird electronics, BassFishin Electronics can help.
We work with Minn Kota and Humminbird systems every day and can help make sure your trolling motor and electronics are installed and configured correctly.
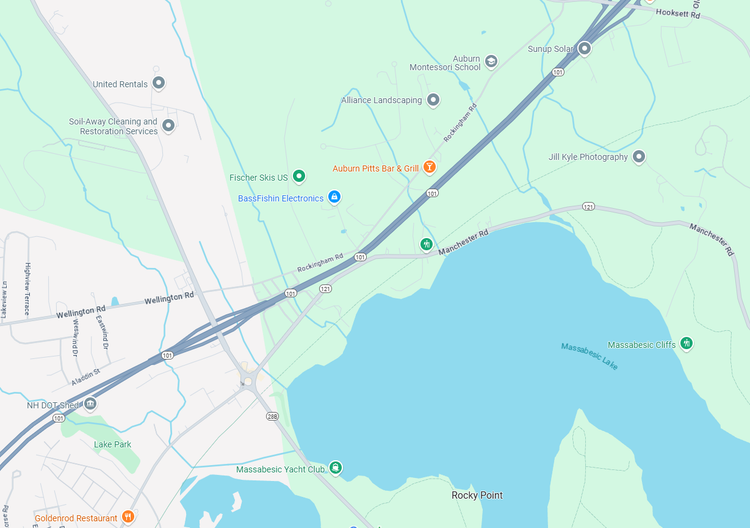
Location
BassFishin Electronics
310 Londonderry Turnpike
Hooksett, NH 03106
Mon - Thurs, 9AM - 5PM
Fri 9AM - 4PM
Saturday, CLOSED
Sunday, CLOSED
603-264-9739 (Call/Text)
Sales@bassfishinelectronics.com
Discount available for Military and First Responders
 Get Verified